
In recent years, sugar scrubs have become a popular skincare essential.
These simple yet effective exfoliators work wonders to remove dead skin cells, leaving your skin soft, smooth, and glowing.
The best part? You don’t need to buy expensive products from the store — you can easily create a homemade sugar scrub using natural ingredients from your kitchen! In this guide, we’ll show you how to make sugar scrub that’s not only budget-friendly but also customizable for your skin’s unique needs.
What is a Sugar Scrub?
A sugar scrub is a natural exfoliating product made primarily from sugar, oil, and other skin-nourishing ingredients.
Sugar acts as a gentle exfoliator that sloughs away dead skin cells, promoting a radiant complexion.
The oils in the scrub moisturize and hydrate your skin, leaving it soft and healthy.Unlike harsh chemical exfoliators, DIY sugar scrubs are gentle and suitable for most skin types, including sensitive skin.
Plus, you can tailor the recipe to suit your preferences by adding essential oils, herbs, or other natural ingredients.
Why Use Sugar Scrubs?
Using a homemade sugar scrub has many benefits for your skin, including:
- Exfoliation: Sugar granules effectively remove dead skin cells, reducing dullness and revealing brighter skin.
- Hydration: Oils in the scrub lock in moisture, leaving your skin soft and supple.
- Improved Circulation: Massaging the scrub onto your skin stimulates blood flow, promoting healthy-looking skin.
- Cost-Effective: Making your own scrub is much cheaper than buying store-bought exfoliators.
- Customizable: You control the ingredients, ensuring a natural and chemical-free product.
Benefits of Making a Homemade Sugar Scrub
There’s something satisfying about creating your own skincare products. When you make a DIY sugar scrub, you know exactly what’s going into it. Here are some reasons why you should try crafting your own:
- No Chemicals: Store-bought products often contain preservatives and synthetic fragrances. By making your own sugar scrub, you avoid harmful additives.
- Eco-Friendly: Homemade scrubs reduce packaging waste, making them environmentally friendly.
- Customizable Scents and Ingredients: Want a lavender-scented scrub? Or maybe something energizing like citrus? You can personalize your scrub to your preferences.
How to Make Sugar Scrub at Home
Creating a homemade sugar scrub is incredibly simple. You only need a few basic ingredients, most of which you probably already have in your kitchen.
Basic Sugar Scrub Recipe
Here’s a simple recipe to get you started:Ingredients:
- 1 cup of sugar (white or brown sugar)
- ½ cup of coconut oil or olive oil
- 1 teaspoon of vitamin E oil (optional, for added nourishment)
- A few drops of your favorite essential oil (e.g., lavender, peppermint, or citrus)
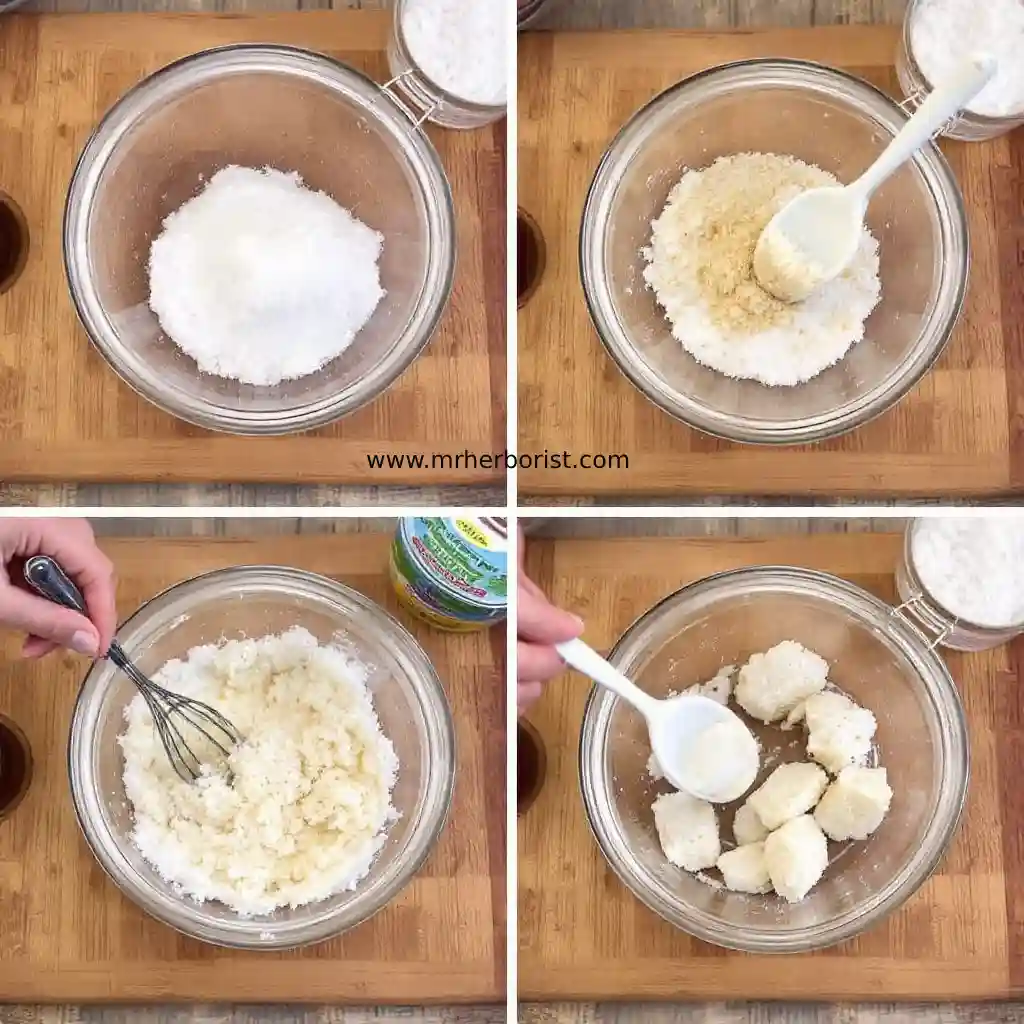
Instructions:
- In a mixing bowl, combine the sugar and oil. Stir until well blended.
- Add the vitamin E oil and essential oil, mixing thoroughly.
- Transfer the scrub into a clean, airtight container for storage.
How to Use:
- Apply the sugar scrub to damp skin.
- Gently massage in circular motions for 2–3 minutes.
- Rinse off with warm water and pat your skin dry.
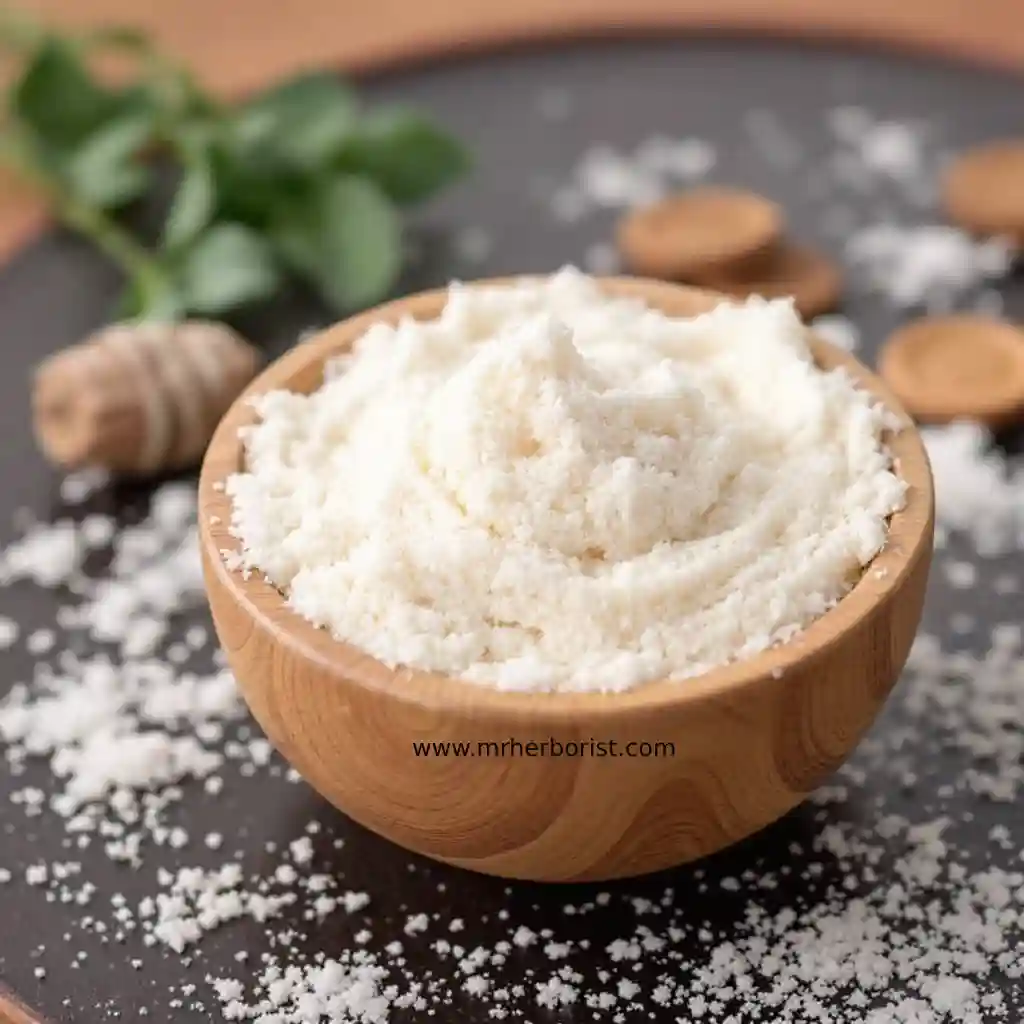
Types of Sugar for DIY Sugar Scrubs
When learning how to make sugar scrub, the type of sugar you choose matters. Here’s a quick guide:
- White Sugar: Fine granules make this suitable for sensitive skin and facial scrubs.
- Brown Sugar: Softer than white sugar, brown sugar is ideal for gentle exfoliation and has a natural molasses scent.
- Raw Sugar: Coarser granules make this better for tougher areas like elbows, knees, and feet.
Creative DIY Sugar Scrub Variations
Once you’ve mastered the basic recipe, try these fun variations to enhance your scrubbing experience:
1. Lavender Relaxation Sugar Scrubs
- Ingredients: 1 cup sugar, ½ cup coconut oil, 5 drops lavender essential oil, dried lavender flowers.
- Benefits: Soothes and relaxes, perfect for a nighttime skincare routine.
2. Energizing Citrus Sugar Scrubs
- Ingredients: 1 cup sugar, ½ cup olive oil, 5 drops orange or lemon essential oil, zest of one lemon.
- Benefits: Refreshes and rejuvenates your skin, leaving you feeling energized.
3. Minty Cool Sugar Scrubs
- Ingredients: 1 cup sugar, ½ cup almond oil, 5 drops peppermint essential oil.
- Benefits: Provides a cooling sensation, ideal for hot summer days.
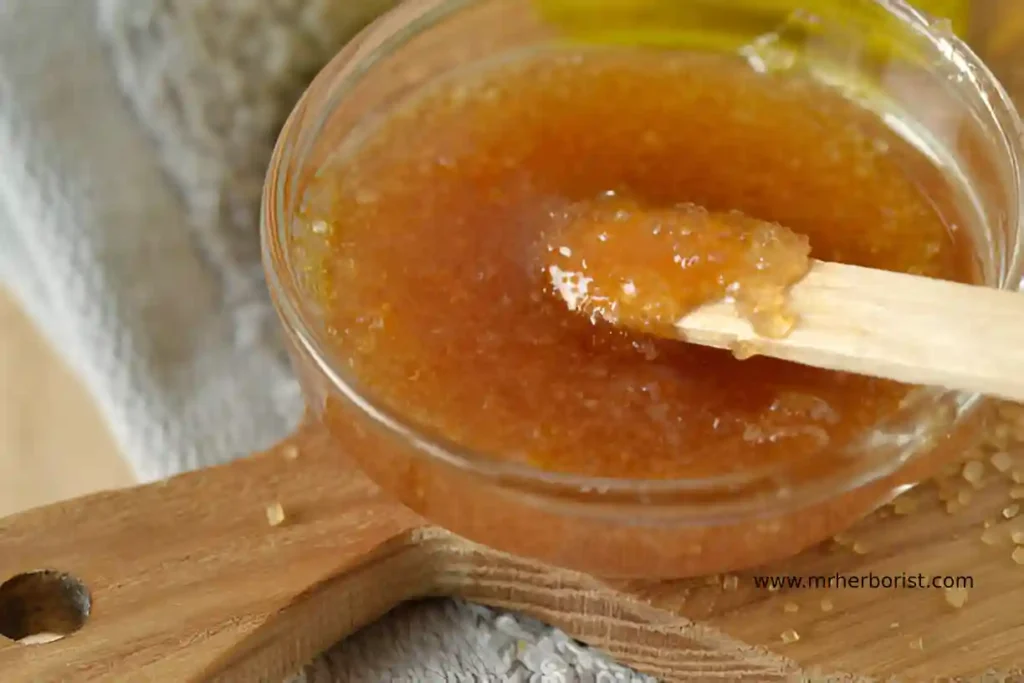
4. Brown Sugar and Honey Scrubs
- Ingredients: 1 cup brown sugar, 2 tablespoons honey, ½ cup coconut oil.
- Benefits: Hydrating and nourishing, great for dry skin.
Tips for Making the Perfect Sugar Scrub
To ensure your homemade sugar scrub turns out perfectly, keep these tips in mind:
- Avoid Overly Coarse Sugar: If the sugar granules are too rough, they can irritate your skin.
- Use High-Quality Oils: Choose unrefined, cold-pressed oils for maximum skin benefits.
- Test Essential Oils: Do a patch test to ensure you’re not sensitive to your chosen essential oil.
- Store Properly: Keep your sugar scrub in an airtight container to maintain freshness.
How Often Should You Use a Sugar Scrub?
While sugar scrubs are gentle, over-exfoliation can harm your skin. Here’s how often you should use them:
- Face: Use a sugar scrub 1–2 times per week.
- Body: Exfoliate your body 2–3 times per week.
- Feet and Elbows: For tougher areas, you can use the scrub more frequently, up to 4 times per week.
Common Mistakes to Avoid
When making and using a DIY sugar scrubs, avoid these common errors:
- Using Scrub on Broken Skin: Avoid applying scrubs to cuts, burns, or irritated skin.
- Not Moisturizing Afterward: Always follow up with a moisturizer to lock in hydration.
- Over-Exfoliating: Stick to the recommended frequency to avoid damaging your skin barrier.
FAQs About Sugar Scrubs
1. Can I Use Sugar Scrub on My Face?
Yes, but use finer sugar granules (like white sugar) and avoid scrubbing too hard.
2. How Long Does Homemade Sugar Scrub Last?
If stored in an airtight container, your scrub can last up to 2 months. Avoid introducing water into the container to prevent bacterial growth.
3. Can I Replace Sugar with Salt?
Yes, but salt is coarser and better suited for tougher areas like feet. Sugar is gentler and more suitable for sensitive skin.
RELATED: Embrace Natural Skin Care: Your Guide to Glowing, Healthy Skin
Making a homemade sugar scrubs is an easy, fun, and cost-effective way to care for your skin.
With just a few simple ingredients, you can create a personalized exfoliator that leaves your skin soft, smooth, and glowing.
Whether you stick with the basic recipe or experiment with creative variations, the possibilities are endless.
So, next time you’re looking for a natural skincare solution, remember this DIY sugar scrubs guide. Your skin will thank you!