
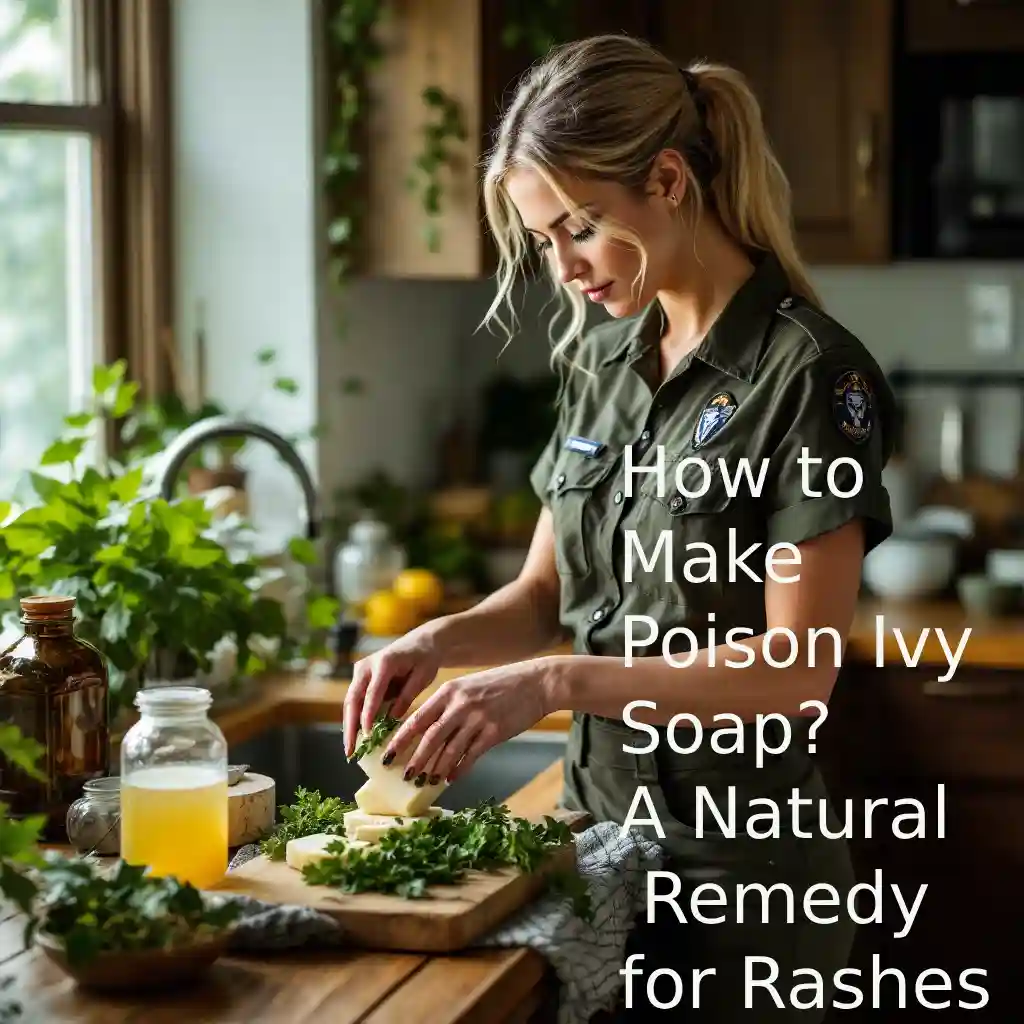
Poison Ivy Soap:
Poison ivy is a common plant that many people encounter when spending time outdoors.
While it can be beautiful, this plant also has a reputation for causing a poison ivy rash, which can be quite uncomfortable.
For those suffering from this irritation, creating your own poison ivy soap can serve as a valuable remedy.
In this guide, we will discuss what poison ivy looks like, how to treat a poison ivy rash, and provide you with a step-by-step method to create your own soap to alleviate symptoms.
What Does Poison Ivy Look Like?
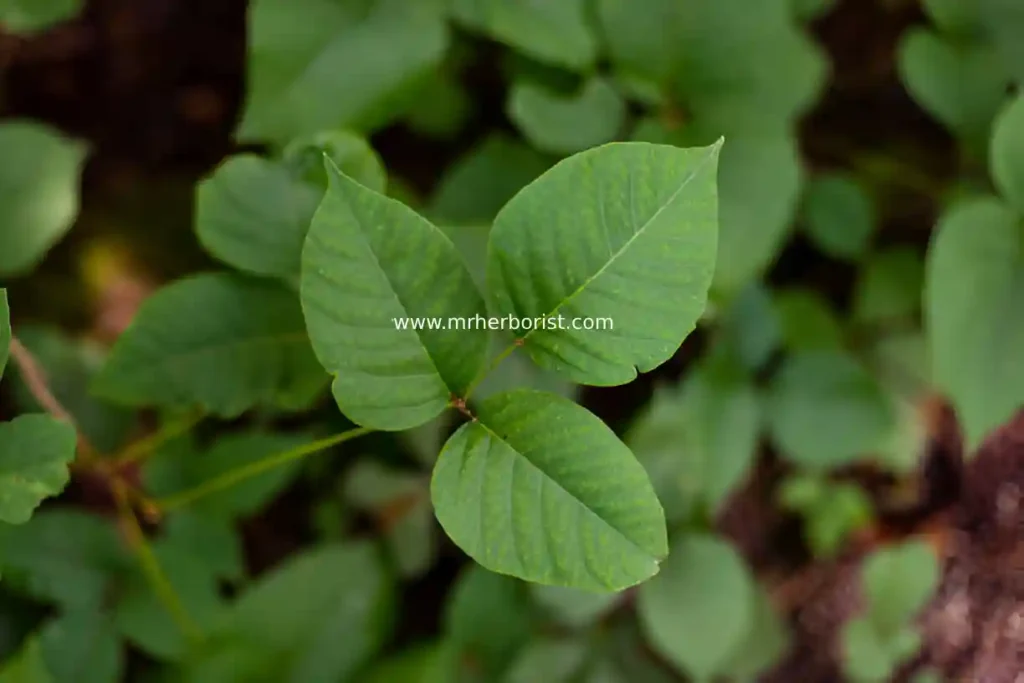
Understanding how to recognize poison ivy is crucial to avoiding it. The plant typically has three leaflets, which is a key identifying feature. Here are some characteristics to help you identify it:
- Leaves: Generally, the leaves are green and can vary in shape from smooth to jagged. In the fall, they may turn red or yellow.
- Stems: This plant can grow as a vine or a small shrub, and the stems often have a hairy appearance.
- Height: You might encounter it growing anywhere from a few inches to several feet tall, especially when climbing.
By familiarizing yourself with these traits, you can successfully avoid contact with poison ivy and the subsequent rash that may follow.
Understanding Poison Ivy Rash

When someone comes into contact with poison ivy, the oil called urushiol is responsible for the allergic reaction. This can lead to a red, itchy rash that may cause discomfort and even pain. Symptoms often include:
- Redness and swelling
- Itching
- Blisters
- Painful sensations
If you find yourself with a poison ivy rash, it’s essential to treat it promptly to reduce discomfort and prevent infection.
Common Treatments for Poison Ivy Rash
Before we delve into making poison ivy soap, let’s briefly discuss some common treatments for the rash to help you manage symptoms effectively:
- Over-the-Counter Medications: Antihistamines and hydrocortisone creams can alleviate itching and inflammation.
- Cold Compresses: Applying a cold compress can soothe irritation and reduce swelling.
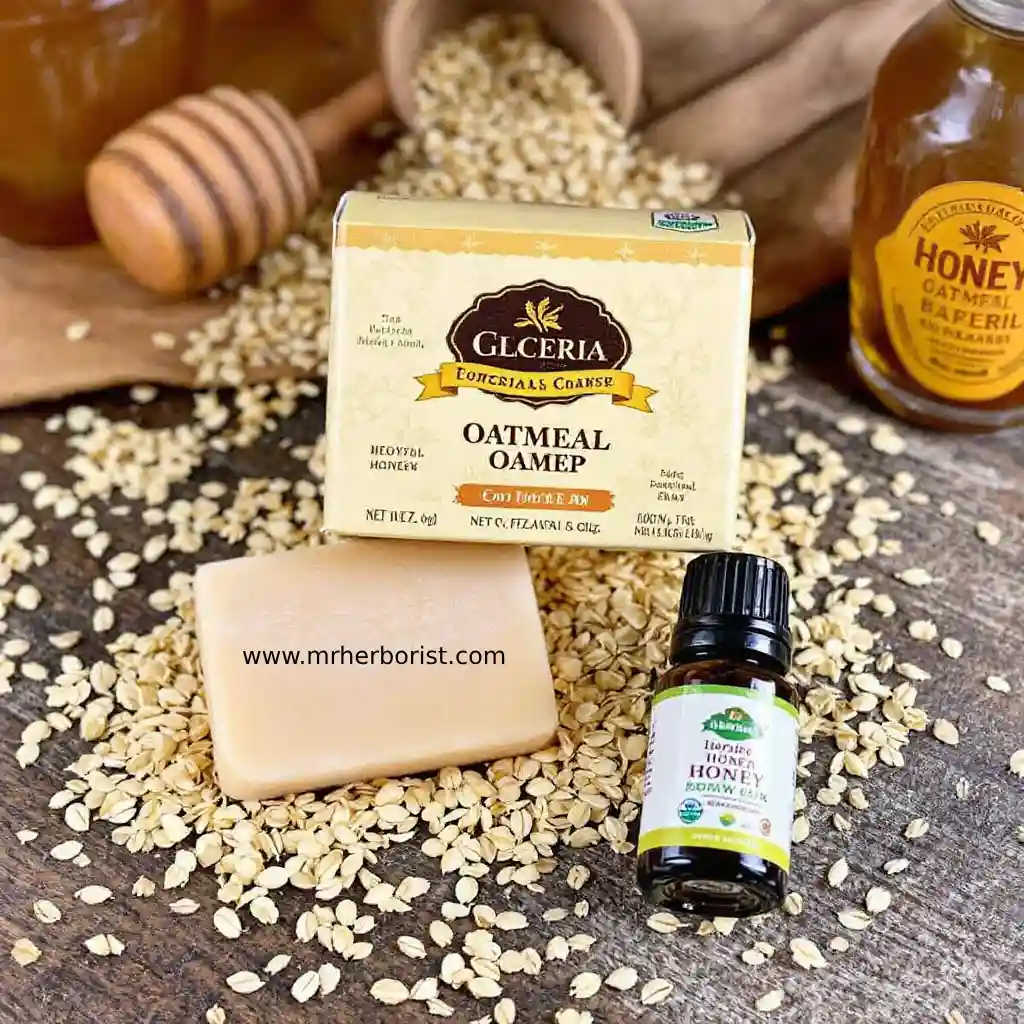
- Oatmeal Baths: Soaking in an oatmeal bath can provide relief for itchy skin.
While these treatments can help, creating a specialized soap offers additional benefits by cleansing the skin of urushiol oil and providing soothing properties.
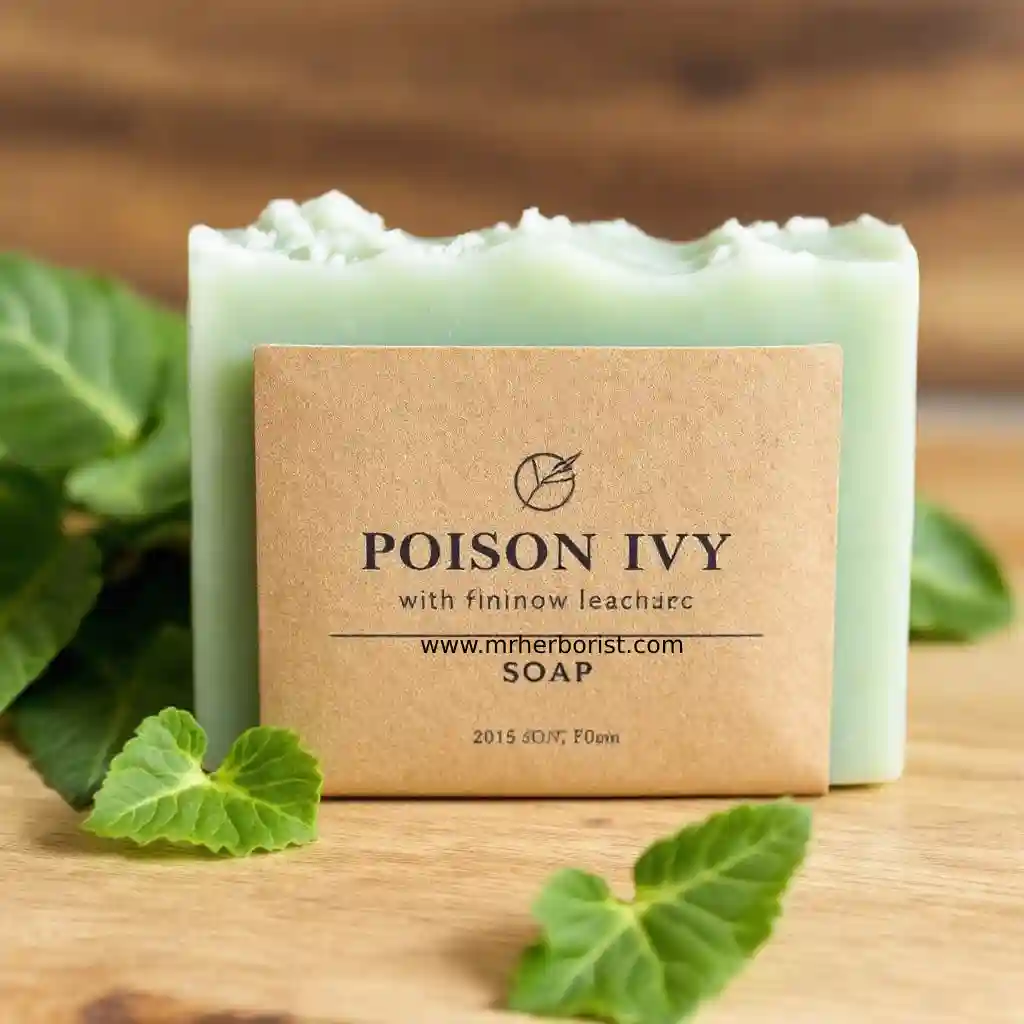
How to Make Poison Ivy Soap
Now that we understand poison ivy and its effects, let’s focus on how to create poison ivy soap that effectively helps in treating the rash. This homemade soap not only cleanses but can also provide relief and comfort.
Ingredients Needed
To make poison ivy soap, you will need:
- 10 oz. of glycerin soap base: This acts as the foundation for your soap, readily available at craft stores or online.
- 2 tablespoons of oatmeal: Known for its soothing properties, oatmeal can help calm irritated skin.
- 1 tablespoon of honey: Honey is a natural humectant and has antibacterial properties.
- Essential oils: Choose oils like tea tree oil or lavender oil for their soothing benefits (about 10-15 drops).
- Soap mold: A mold is essential to shape your soap.
Step-by-Step Instructions
1: Prepare Your Workspace
To begin, ensure your workspace is clean and organized. Gather all the materials and ingredients you’ll need for the soap-making process.
2: Melt the Glycerin Soap Base
- Start by cutting the glycerin soap base into small cubes to ensure even melting.
- Place the cubes in a microwave-safe bowl and heat them in short bursts (about 30 seconds at a time) until fully melted.
3: Add Ingredients
- Once the soap base is melted, remove it from the microwave and allow it to cool slightly.
- Stir in the oatmeal and honey until well combined.
- After that, incorporate the essential oils of your choice and mix thoroughly.
4: Pour Into Molds
- Carefully pour the soap mixture into your soap mold.
- Gently tap the mold on the counter to remove any air bubbles that may have formed.
5: Let It Set
- Allow the soap to sit at room temperature until it hardens completely, which may take a few hours.
- Once hardened, carefully remove the soap from the mold.
6: Store Properly
Store your homemade poison ivy soap in a cool, dry place. Use it whenever you feel you’ve come into contact with poison ivy or if you’re experiencing a rash.
Benefits of Poison Ivy Soap
- Cleanses the Skin: The soap helps remove urushiol oil, which is crucial in preventing further irritation.
- Soothes Irritation: Ingredients like oatmeal and honey provide comfort to the affected skin.
- Natural Ingredients: Making your soap allows you to control the ingredients, ensuring they are safe and effective.
RELATED: How to Achieve Glass Skin Naturally at Home: A Complete Guide
Poison ivy WIKIPEDIA
Creating your own poison ivy soap is a simple yet effective way to treat and alleviate the symptoms of a poison ivy rash.
By understanding what poison ivy looks like and how to treat its effects, you can take proactive measures to protect yourself.
With this homemade soap, you’ll have a natural remedy on hand for any encounters with this troublesome plant.
If you develop a severe rash or experience symptoms that do not improve, it’s essential to consult a healthcare professional for further advice and treatment.
Enjoy your time outdoors, knowing that you have the tools to manage any poison ivy encounters!